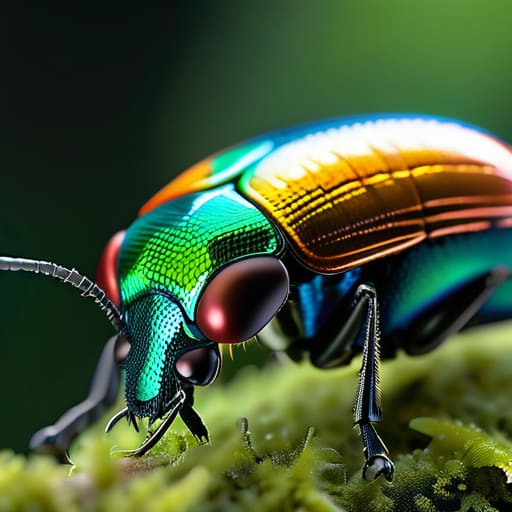
I was standing in a damp hedgerow at 2:00 AM last Tuesday, squinting through a headlamp at a tiny, fluttering speck, when I realized my phone was useless. I’d snapped a dozen shots, but they were nothing more than unidentifiable beige smears that told me absolutely nothing about whether I was looking at a common species or something much more significant. There is this pervasive myth in amateur naturalist circles that if you just point a lens at a bug, the mystery is solved, but the reality of how photographs help identification is far more technical and, frankly, much more frustrating than a simple “click and find” process.
I’m not here to sell you on expensive macro lenses or tell you that every blurry smartphone snap is a scientific record. Instead, I want to talk about what actually makes a photo useful for data—from capturing specific wing venation to understanding the lighting that reveals diagnostic hairs. I’m going to show you how to move past the “pretty picture” phase and start taking images that actually stand up to scrutiny, so you can stop guessing and start contributing to the real story of what’s happening in our gardens.
Table of Contents
Digital Image Authentication Avoiding the Trap of Visual Misinterpretation
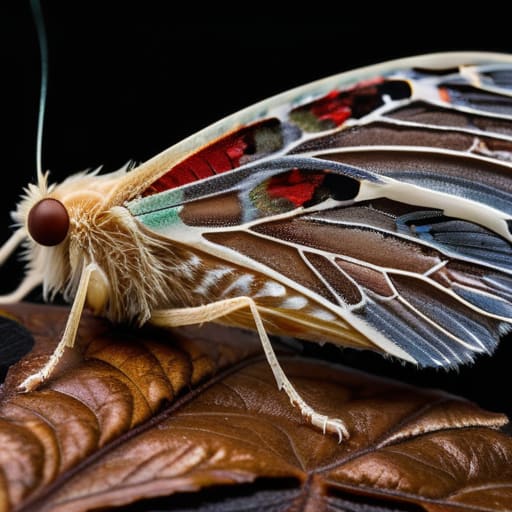
The problem with a high-res photo is that it can actually lie to you if you aren’t looking at the right things. In my field, we aren’t just looking for a “pretty moth”; we are looking for specific, repeatable diagnostic markers. This is where digital image authentication becomes vital. It isn’t enough to just snap a picture and upload it to iNaturalist; if the lighting is too harsh or the angle obscures the wing venation, you aren’t recording data—you’re recording an opinion.
When I’m looking at a specimen, I try to apply a mindset similar to biometric identification techniques used in human forensics. Just as a system might analyze specific ratios of a face, I’m looking for the precise distance between certain scales or the exact pattern of a thorax. If the image is blurry or the color balance is off due to a cheap phone sensor, we risk a misidentification that skews our entire local census. We have to treat every upload with a degree of skepticism, ensuring the structural integrity of the visual data holds up under scrutiny before we call it a confirmed sighting.
Beyond the Blur Why Photographic Evidence Accuracy Matters
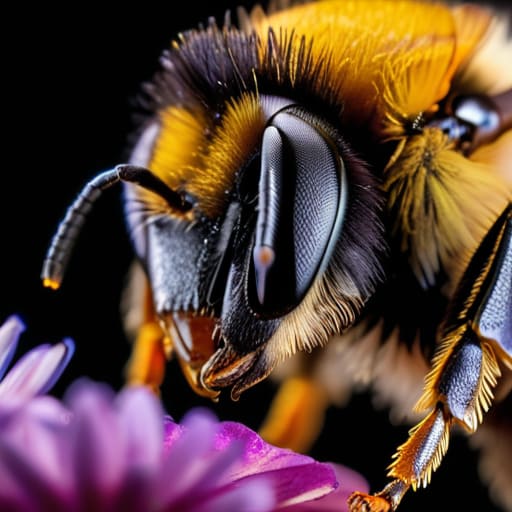
When I’m out in a hedgerow at 2:00 AM, trying to keep my torch steady while a gust of wind threatens to knock me into a bramble bush, I’m not looking for a “cute” shot. I’m looking for diagnostic clarity. There is a massive difference between a photo that looks good on Instagram and one that actually holds up under peer review. If you capture a Bombus terrestris—the common buff-tailed bumblebee—but the shot is so out of focus that you can’t distinguish the hair patterns on the thorax, you haven’t actually recorded a data point; you’ve just recorded a yellow smudge.
In many ways, we need to approach our field captures with something closer to mugshot standard procedures. In human forensics, we rely on specific, unvarying angles to ensure a match; insect identification is no different. If the wing venation is obscured by glare or the abdominal markings are lost in shadow, the image fails the test of photographic evidence accuracy. We aren’t just taking pictures; we are building a visual record that needs to be as rigorous as biometric identification techniques to ensure that when we report a population shift, we aren’t just misidentifying a common species for a rare one.
Fieldwork Reality Check: How to Actually Use Your Camera for Data
- Focus on the diagnostic traits first. If you’re looking at a Bombus terrestris—the common buff-tailed bumblebee—a wide shot of it on a flower is lovely for Instagram, but it’s useless for a survey. You need a macro shot of the specific hair patterns or the abdominal markings that separate it from a lookalike. If the camera isn’t hitting the specific anatomical markers, you haven’t taken a data point; you’ve just taken a portrait.
- Scale is everything, and “eye-balling it” is how we get bad data. Always keep a physical scale—a ruler or even a standard coin—in the frame. Without a known metric, I can’t tell if that specimen is a particularly large species or a tiny one that just happens to be sitting close to the lens.
- Watch your lighting, or rather, don’t let it lie to you. Flash photography is a double-edged sword; it can reveal structural details, but if you hit a metallic wing at the wrong angle, you’ll create a glare that completely obscures the very patterns you’re trying to document. I’ve spent far too many evenings squinting at photos only to realize the light washout made a distinct stripe look like a smudge.
- Capture the “contextual anatomy.” It’s not just about the insect; it’s about the orientation. A top-down view (dorsal) and a side-on view (lateral) are the gold standard. If you only have one angle, you’re essentially trying to identify a person by looking only at their profile—you might get the general shape, but you’ll miss the details that confirm exactly who they are.
- Don’t ignore the background, but keep it clean. You don’t need a studio backdrop, but a chaotic, high-contrast mess of leaves behind a small moth makes it impossible to trace the silhouette. A slightly shallower depth of field helps isolate the subject, ensuring that the “edge” of the insect is a sharp line rather than a blurry merge with the vegetation.
The Bottom Line for Your Fieldwork
A photo isn’t a substitute for a proper ID key; if you aren’t capturing the specific diagnostic traits—like the wing venation of a Bombus terrestris or the scale patterns on a moth—you’re just collecting pretty pictures that won’t hold up in a peer-reviewed paper.
Stop treating every blurry smartphone snap as “data”; bad imagery leads to misidentification, and misidentification leads to the kind of flawed datasets that make conservationists look like amateurs when they try to argue for habitat protection.
Quality over quantity is the rule for long-term monitoring; one crisp, macro shot that shows the necessary anatomical markers is worth more than a hundred grainy images that leave us guessing about the actual species present.
The Reality Behind the Lens
At the end of the day, a photograph is only as useful as the data it actually preserves. We’ve talked about why we can’t just settle for a blurry shot of a wing or a vague silhouette; if we aren’t capturing those specific diagnostic traits—the vein patterns on a moth’s wing or the exact hair density on a bee’s thorax—we aren’t actually doing science, we’re just collecting pretty pictures. Reliable identification requires a commitment to technical precision, ensuring that our digital files serve as a verifiable record rather than a source of confusion. When we prioritize high-quality, authenticated imagery, we move away from guesswork and toward a dataset that can actually withstand the scrutiny of a peer review or a conservation audit.
I know it feels like a lot of extra work when you’re standing in a damp field at 2:00 AM or squinting through a hand lens in the midday sun, but this is how we build a real defense for the species that can’t speak for themselves. Accurate photography is the bridge between a casual hobby and meaningful ecological monitoring. Every time you take the extra minute to get the focus right or find the correct angle, you are contributing to a clearer picture of our changing world. We aren’t just snapping photos; we are documenting the pulse of our ecosystems, one frame at a time.
