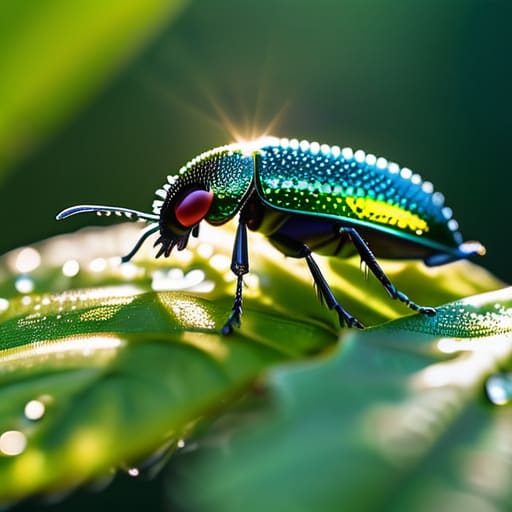
I spent three years of my doctorate chasing Bombus terrestris through rain-soaked hedgerows, and if there is one thing I’ve learned, it’s that most “complete guide to insect photography” tutorials are essentially just expensive gear advertisements in disguise. You’ll see influencers preaching about ultra-high-speed shutter counts and thousand-pound macro lenses as if the gear is doing the work, but they rarely mention the part where you’re actually sitting in the damp dirt for forty minutes, holding your breath so you don’t spook a beetle. The truth is, a fancy lens won’t teach you how to read the light or how to respect the biology of the subject you’re trying to capture.
I’m not here to sell you a dream of effortless, crystalline perfection; I’m here to talk about the reality of documenting life. This isn’t a manual on how to buy your way into the hobby, but a practical framework for understanding how to see what is actually happening in the margins. We are going to look at how to manage light without blinding your subject, how to stabilize your setup when the wind is relentless, and why patience is the only piece of equipment that actually matters.
Table of Contents
Mastering Macro Lens Settings for Bugs and Real Data
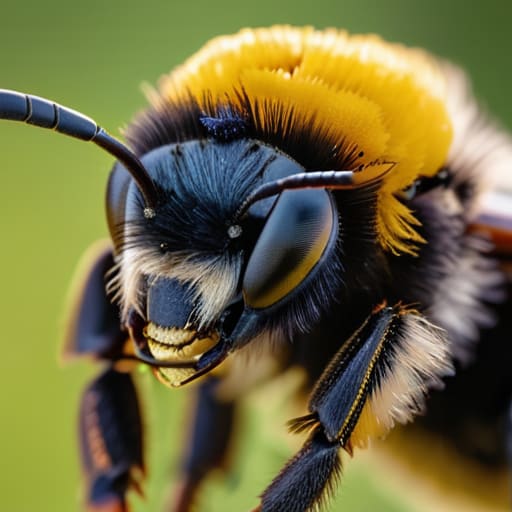
When you’re staring down a Bombus terrestris—the buff-tailed bumblebee—and you realize your focus is landing on a stray piece of dried grass instead of the thorax, the frustration is real. Most tutorials tell you to just “get closer,” but when you’re actually trying to document something useful, you have to wrestle with macro photography depth of field. At these magnifications, the plane of focus is thinner than a dragonfly’s wing. If you’re shooting at f/2.8, you might get one beautiful hair on an antenna in focus while the rest of the insect disappears into a blur. I usually lean toward higher f-stops, like f/8 or f/11, to ensure I’m actually capturing the diagnostic features needed for identification, even if it means you have to compensate with more light.
This is where your macro lens settings for bugs meet the harsh reality of the field. You can’t always rely on a tripod when you’re kneeling in a damp hedgerow, so manual mode is your best friend. I find that setting a slightly faster shutter speed helps mitigate the micro-jitters of your own hands, but you’ll quickly find yourself needing better insect photography lighting techniques to avoid underexposing your subject. A small, diffused LED panel can be a lifesaver, provided you aren’t being so bright that you’re essentially running a searchlight in the middle of a quiet meadow.
Why Macro Photography Depth of Field Often Misleads Us
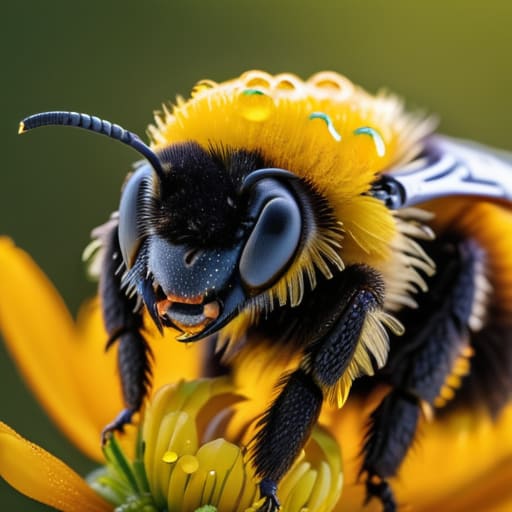
Here is the problem with the “perfect” macro shot you see on Instagram: it’s often a lie. When you’re looking at a stunning, razor-sharp image of a Bombus terrestris (the Buff-tailed bumblebee), your brain tells you the whole insect is in focus. In reality, macro photography depth of field is incredibly shallow—sometimes only a fraction of a millimeter. Most of those gorgeous shots are actually “focus stacked,” a digital process where dozens of images are layered together to fake a depth of field that doesn’t exist in a single frame.
While stacking is great for a portfolio, it can actually obscure the reality of the specimen. If I’m out on a transect trying to document specific morphological features for a survey, a fake depth of field doesn’t help me. I need to know exactly where the plane of focus sits. When we rely too heavily on these hyper-real, artificial images, we lose the sense of scale and the actual spatial relationship between the insect and its environment. We start chasing a digital aesthetic rather than documenting the biological truth of the creature.
Beyond the Bokeh: Five Ways to Make Your Photos Actually Count
- Stop chasing the “perfect” blurry background. If you’re photographing a Bombus terrestris—that’s the common bumblebee—and your focus is so shallow that only its left antenna is sharp, you haven’t captured a specimen; you’ve captured a mistake. Aim for enough depth of field to show the diagnostic features, like hair patterns or wing venation, because a photo that can’t help an identification is just pretty wallpaper.
- Learn the art of the “slow approach.” Most people think insect photography is about being a ninja, but it’s actually about being a statue. If you move too fast, you trigger their flight response; if you move too predictably, they learn your rhythm. I’ve spent twenty minutes sitting in damp grass just waiting for a hoverfly to settle so I don’t end up with nothing but a shot of a leaf.
- Lighting isn’t just about brightness; it’s about texture. Avoid the harsh, midday sun that washes out the iridescent scales on a butterfly wing. Instead, look for “dappled light” under a canopy or wait for that soft, overcast sky that acts like a massive natural softbox. It prevents those blown-out highlights that make your subject look like a plastic toy.
- Document the context, not just the creature. A high-res shot of a beetle is great, but a shot of that same beetle on a specific host plant tells a much bigger story about its ecology. If you want your photography to move beyond a hobby and into something useful for conservation, show us where they live and what they’re actually doing.
- Respect the subject’s “flight zone.” There is a massive difference between a compelling shot and an unethical one. If you find yourself pinning a flower or cornering a moth into a space where it can’t escape, you’ve gone too far. The best data—and the best photos—come from observing insects in their natural, unbothered state, not from forcing a portrait.
Beyond the Pretty Picture: What Actually Matters
Stop chasing the “bokeh dream” at the expense of the specimen; if your settings blur the diagnostic features like wing venation or tarsal claws, you haven’t taken a scientific photo, you’ve just taken a blurry portrait.
Prioritize documentation over aesthetics by ensuring your lighting is consistent and your focus is sharp on the insect’s key identifying structures, even if it means sacrificing that creamy, professional-looking background.
Use your photography as a tool for data, not just a hobby, by recording the specific micro-habitat and plant host in your metadata, because a beautiful photo of a Bombus terrestris tells us nothing if we don’t know what it was actually foraging on.
Beyond the Frame
At the end of the day, getting that perfect shot isn’t just about mastering your aperture or chasing a razor-thin plane of focus that makes a specimen look like it’s floating in a void. It’s about understanding that your camera is a tool for documentation, not just aesthetics. We’ve talked about why depth of field can lie to you and how your settings dictate the quality of the data you’re actually capturing. If you can balance the technical requirements of macro work with a genuine respect for the subject’s biology, you stop being just a person with a lens and start becoming a witness to the micro-world.
But please, don’t let the pursuit of the “hero shot” distract you from the actual insect in front of you. The most important thing you can do with a camera isn’t producing a gallery-worthy print; it’s learning to see the subtle shifts in a habitat that others miss. Every time you sit in the damp grass waiting for a solitary bee to land, you are building a connection to a landscape that is changing faster than we can map it. Use your photography to tell the truth about what is actually out there—the messy, the small, and the vital. That is how we turn a hobby into something that actually matters.
